Showing posts with label DIY. Show all posts

Sunday, August 25, 2013

Multipanel Mirror DIY

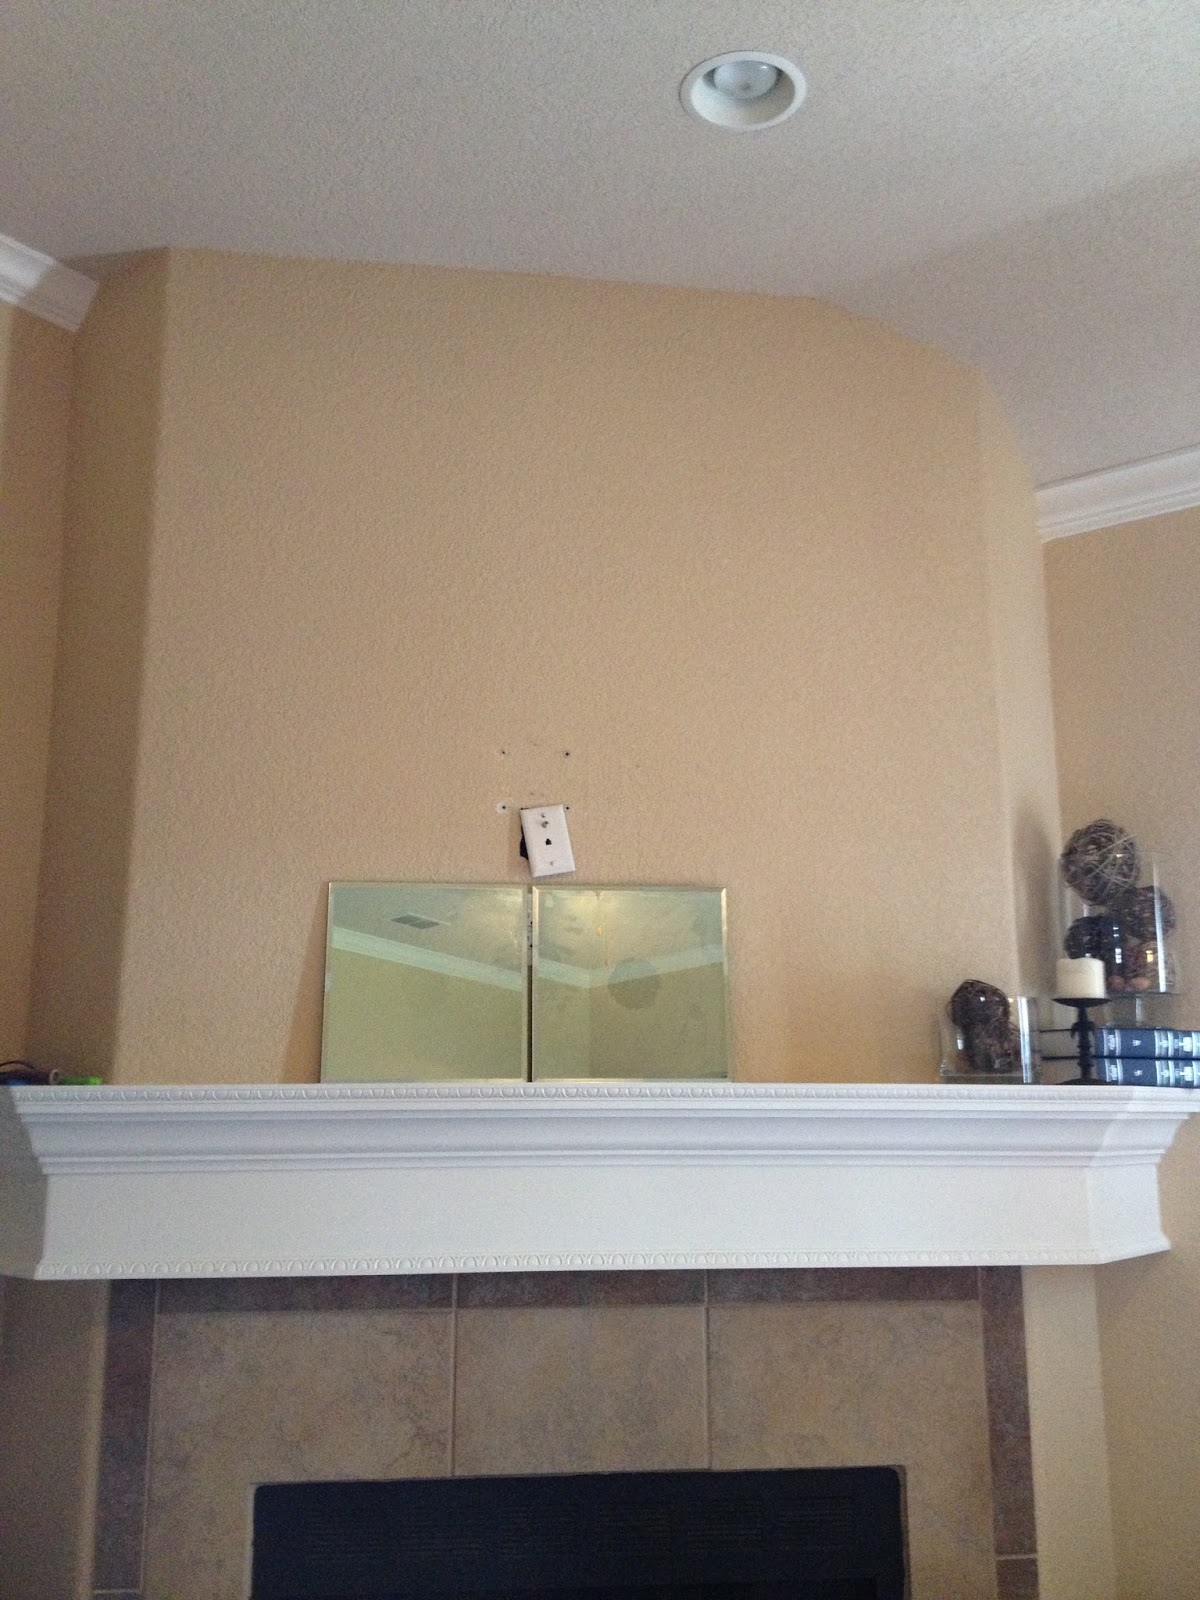
Now that we have our entertainment center built and in place 

I have to figure out what to do above the mantle now that the TV isn't there...

I saw this mirror at Pottery Barn and fell in love with it! But $700?!?! Um, no. 

The wheels started turning. When I was cleaning up the garage I came across 7 13"x13" mirror tiles that we had used as part of our centerpieces at our wedding 6 years ago. 

I kept going through left over materials from the entertainment center and came across almost everything I needed to make my own version. I used 1x2" trim on the outside of the mirror and pieces of very skinny moulding. We used some leftover unfinished hardboard for the backing. 


We used a type of liquid nails to adhere the trim and mirrors to the backing. I used the same Minwax Dark Walnut Stain as I did for the entertainment center. We hung it by 4 hooks just to make sure 30 pounds of mirror didn't fall on the kids...


And up it went!

I'm so excited to be able to actually decorate the mantle now! The TV was just always in the way. I'm playing around with my flower box but that's about all I've attempted!

Total cost: about $12 because of leftover materials! 
I like that a lot better than $700 for a similar look!

Wednesday, April 10, 2013

The Bunk Bed

This bunk bed for our boys has been the funnest thing! We'll all be sad to leave it when we move.

Here's how we did it..

Brookstone Storage Bed, Twin
I started with the Brookstone storage bed from Ana White for the bottom bunk and tweaked it to make it work for us. And I used Minmax Wood Finish in Classic Gray.


Here's how ours turned out...


Turns out this part of construction was really easy and quick...maybe that should have given us a heads up about how time consuming the rest was going to be!

I loved this clubhouse bed from Pottery Barn Kids and found the plans on Ana White's website. We ended up just having the "club house" wall on the back because of the fan in our room.

Clubhouse Bed

Insert sweet hubby acknowledgement here... Jonathan was a great sport through all this... um ... craziness. It was such a sweet experience to be able to build this bed with my mom and Jonathan was very selfless to let us do it. Don't get me wrong we had math questions for him, but he also liked to draw 3D diagrams for all the "made up" steps....


 And Mom and I kinda like to fly by the seat of our pants... while we were standing in Lowes! Several of our trips to Lowes had me driving home like this... oh the looks we got from the workers... haha


The legs and the supports for the top bunk went up.


 I had to channel my inner gymnast while climbing up and balancing while up on the temporarily unstable bed frame...


The railing up


We built our stairs as big boxes and then made the tops with hinges so I could have extra storage. 


Somewhere in all the planning... Mams decided the boys needed a slide to get down from the top bunk. Then she found one all ready to go at Lowes and it was a done deal.


 We decided to build a little platform for them to step down onto before they actually slide down. 


 The clubhouse piece was a bit tricky to attach (darn you uneven ceiling!). We found these interlocking panel pieces that looked "club house-y". That meant I didn't have to paint it to make it look like panels! Yay!
We got tired of cutting, then moving it in to check it, then having to take it down, to cut it again... so we brought the saw to us and probably ignored some warnings written on the tools...


We went ahead and moved Luke into the bunk bed because we didn't have a free weekend for me to stain the bed for a while. He was so excited!!


Staining the bed took forever! And the inventor of that staining/painting mitten is a genius and should be a bajillionaire. It made staining those banisters possible.


Here's the finished product with both boys moved in. 


Thursday, January 3, 2013

Quiet Books

I decided that I wanted to do something special for Luke for a Christmas present this year. As I started planning the pages I would do for his Quiet Book I thought "Oh I should do this for my nephew too!" Then I couldn't leave Parker out.... so I made THREE Quiet Books. For the record it will be YEARS before I make another one (if I ever do!). 

All the blogs I read kept saying time consuming, time consuming, time consuming. So I started in July and finished the covers the week before Christmas. It's been worth it to hear Luke talk about it and show it off to our family. :)

So here they are!


Matching Colors / Fractions (for Luke)

 Shapes                              Weaving

Luke's Math page

Counting page for the younger boys book

Barnyard and finger puppet animals

 Rocket ship

Mr. Potato Head and accessories (this is probably my favorite page)


As I was putting the book together it seemed like there weren't enough pages, but I decided it would have to do because I had done almost every page THREE times.

I'm glad they have them but I think I'm more happy to be done with them!